07. AWS Account Setup
Step 1. Create an AWS Account
Open a regular AWS account (if you don't already have one) following the instructions via the Amazon Web Service Help Center
Step 2. Get Promo Codes
Udacity has partnered with AWS to provide nominal credits for learners whose coursework requires AWS services to complete. To request a promo code, you can submit a Support ticket here.
- Under the "Reason for Contact" field, choose ** "Third-Party Access, Promo Codes & License keys**", then choose ** "AWS"** in the dropdown.
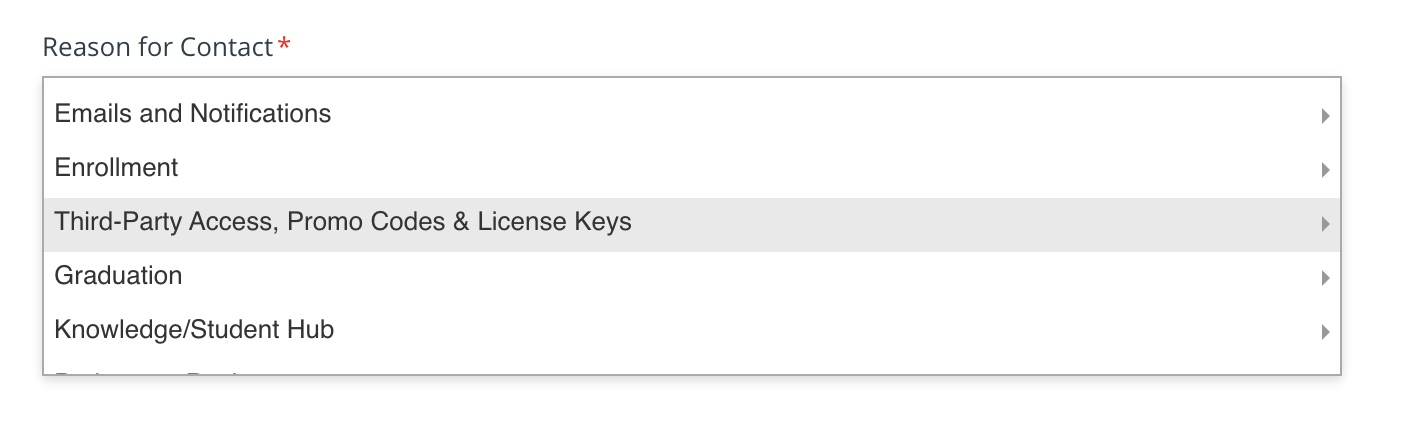
Snapshot: Reason for Contact field.
- Please note that a regular AWS account will receive a promo code from Udacity with a fixed amount of AWS credits.
Step 3. Apply Promo Code to Your AWS Account
To apply your promo code, follow below:
- Go to the AWS Billing Dashboard.
- Click "Credits" on the left side of the screen, and click on the Redeem credit button. Enter the promo-code you have received.
- Credits will automatically be applied to your bill. Refresh the page and you will be able to view your credits under the Credits page.
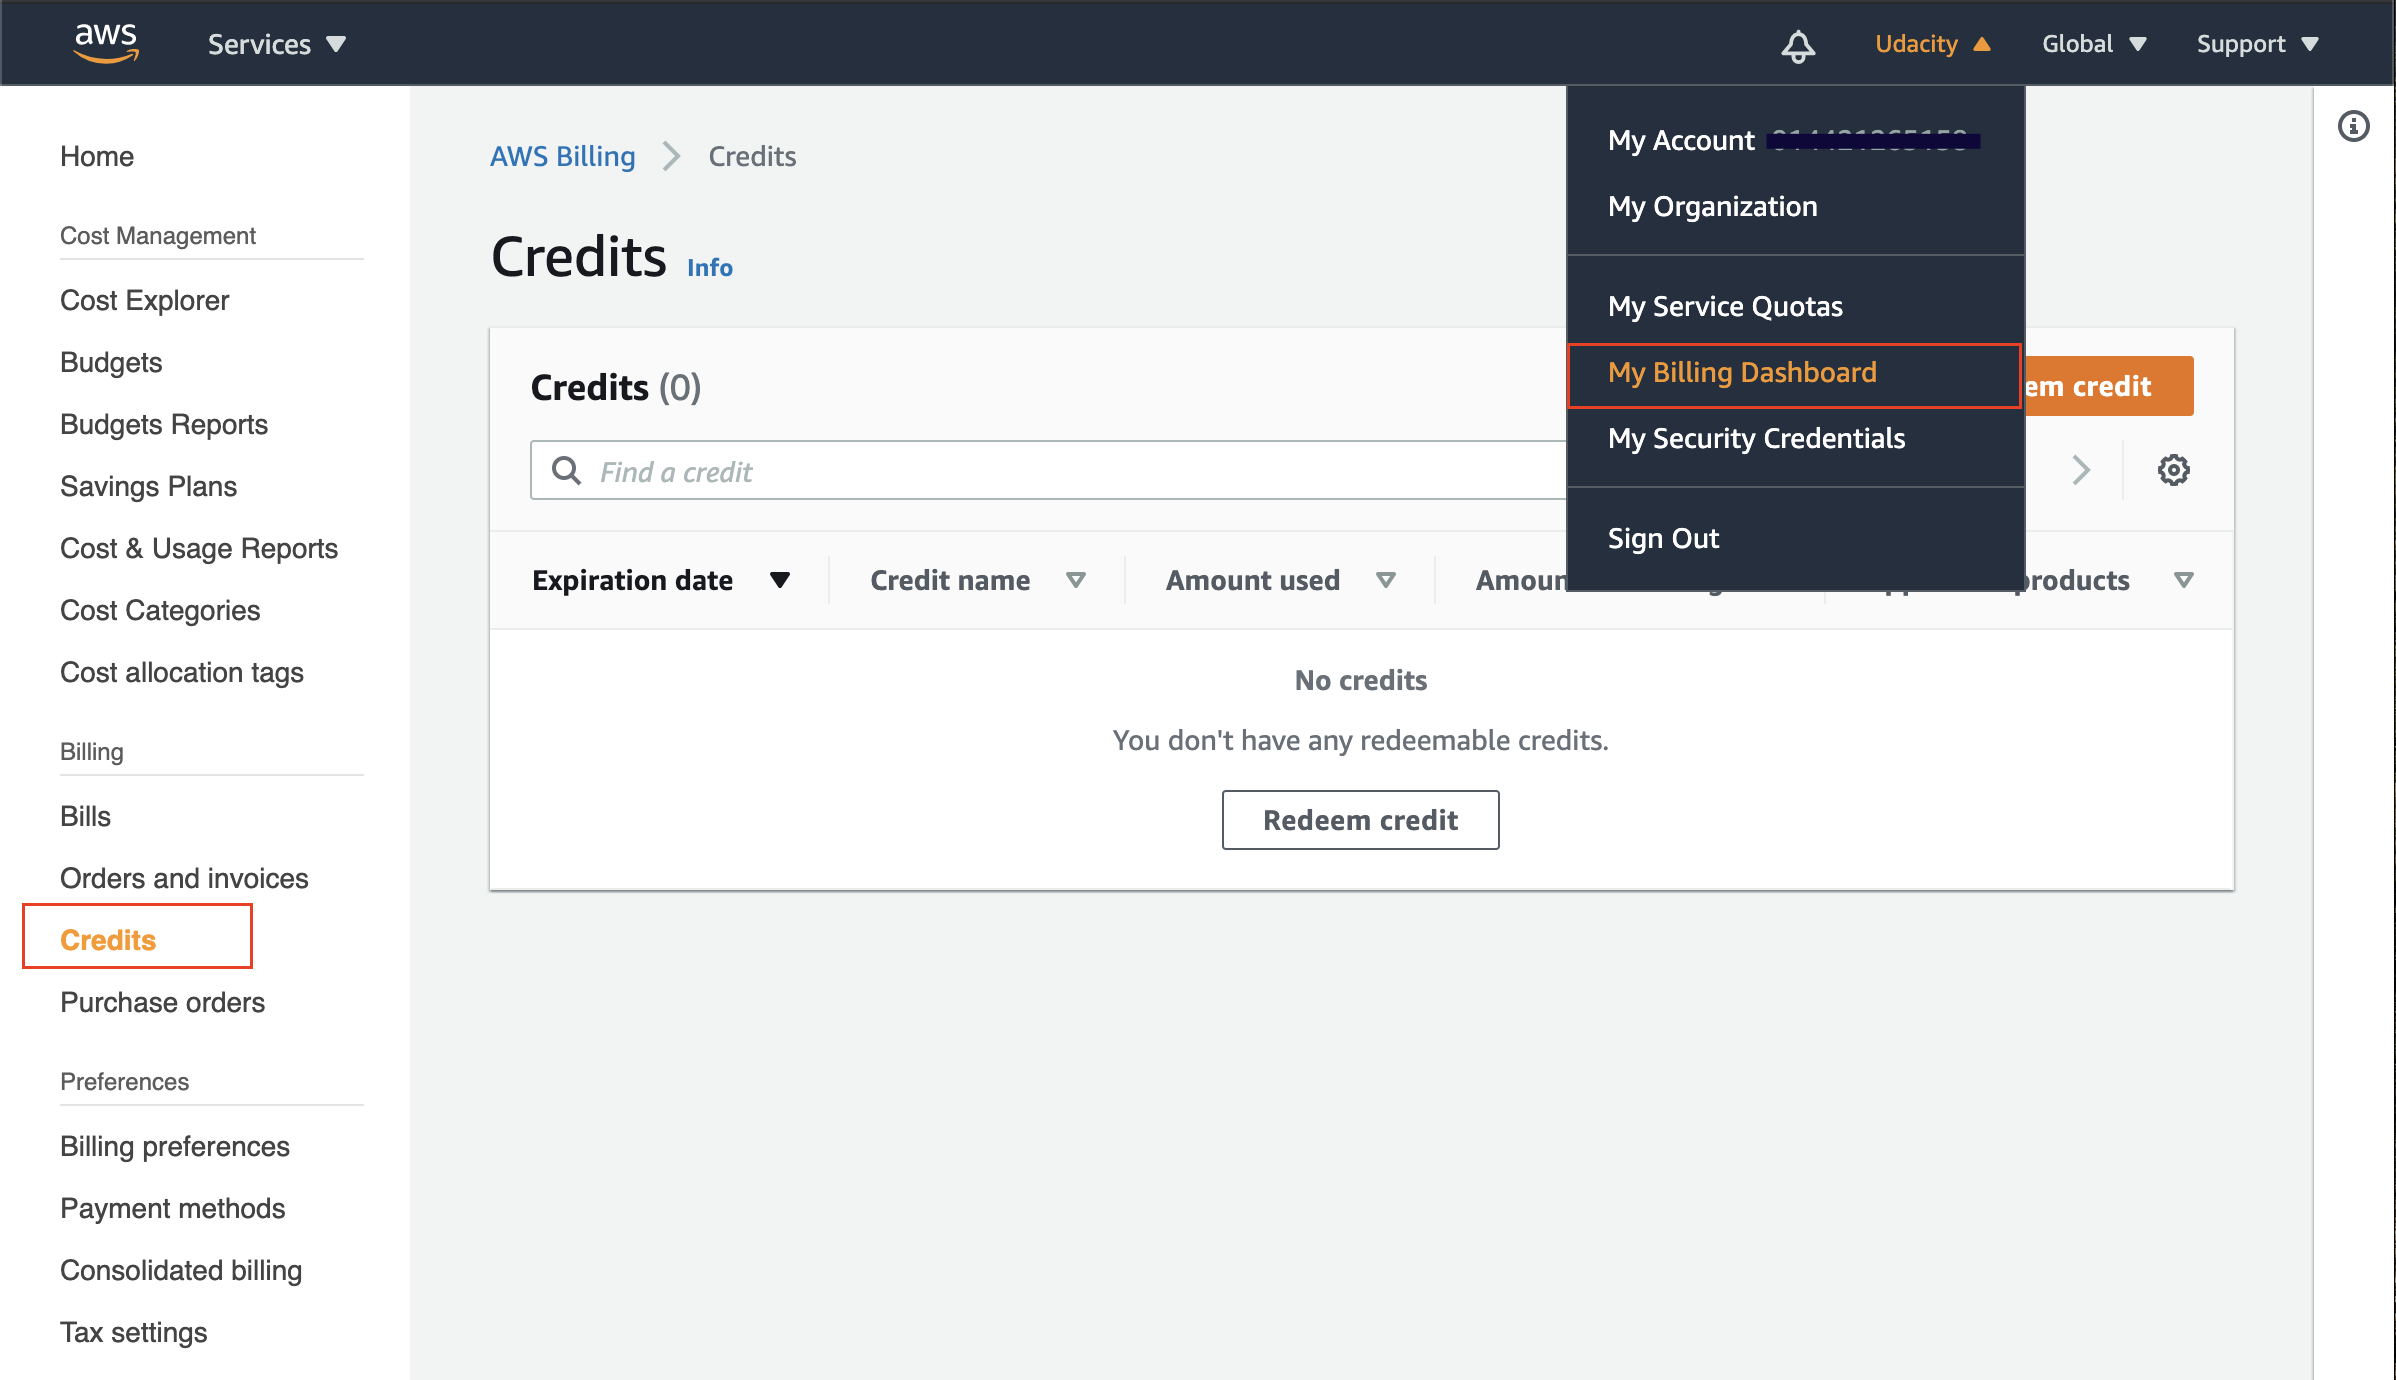
Snapshot: Credits page on the Billing Dashboard
AWS Free Tier
It is an offering from AWS that allows you to use most of the AWS services free of cost up to a certain usage limit for one year. In addition to the promo codes provided by Udacity, you can also leverage the AWS Free Tier Access.
According to AWS:
The AWS Free Tier is automatically activated on each new AWS account.
Check the list of services covered under Free Tier here.
Note - You will be responsible for charges incurred from usage that exceeds the AWS Free Tier limits and credits provided by Udacity.